

1. 环境配置
官方 Github 仓库:https://github.com/Livox-SDK/livox_laser_simulation
1、创建工作空间,克隆Livox功能包:
mkdir -p ws_livox/src
cd ws_livox/src/ && catkin_init_workspace
cd .. && catkin_make
cd src/ && git clone https://github.com/Livox-SDK/livox_laser_simulation.git
2 、安装依赖:
sudo apt-get install libignition-math4-dev
3 、因为我使用的是 Ubuntu20.04 Gazebo11,所以这里我将功能包中 CMakeLists.txt 中 C++ 版本修改为 17。
4 、编译功能包:
catkin_make
source devel/setup.bash
5、启动仿真:
roslaunch livox_laser_simulation livox_simulation.launch
6、 效果如下: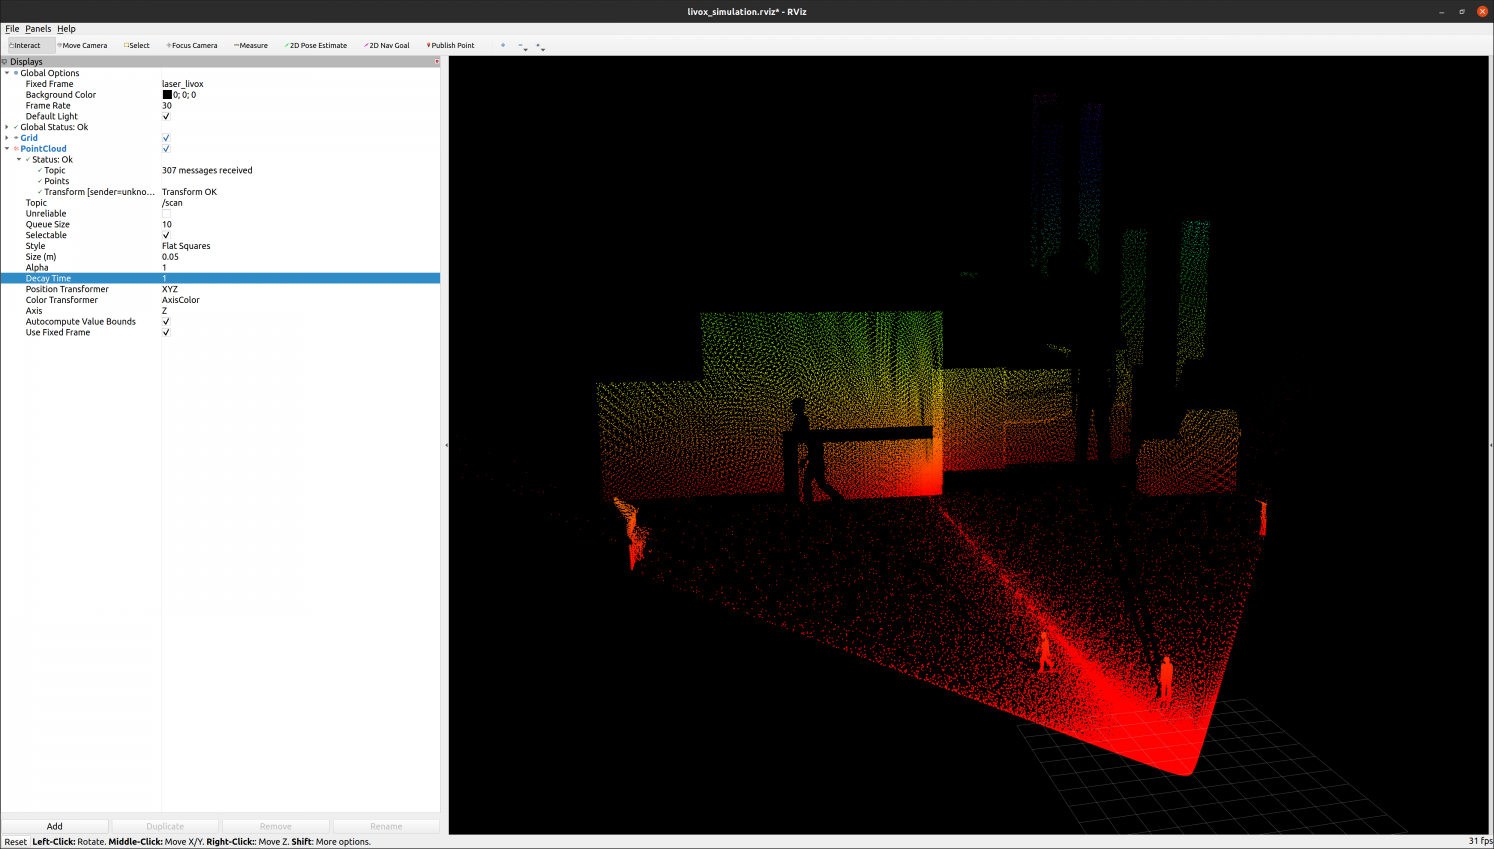
2. 模型修改
官方提供的代码中,激光雷达和机器人底盘是连接在一起的,这里我将其独立出来使用,并且添加了参数来调整其位姿,可以实现激光雷达静止悬浮在空中,实现对场景的监控。
1 、在 livox_avia.xacro 中删去对底盘模型的引用,被删除的代码如下:
<xacro:include filename="$(find livox_laser_simulation)/urdf/standardrobots_oasis300.xacro"/>
<xacro:link_oasis name="oasis"/>
2、在 livox_avia.xacro 中添加一些 link 和 joint,其中设置了其 rpy 角:
<xacro:property name="roll" value="0"/>
<xacro:property name="pitch" value="-5"/>
<xacro:property name="yaw" value="180"/>

......

<link name="base_link">
  <xacro:null_inertial/>
</link>

<joint name="${name}_base_to_base_link_joint" type="fixed">
  <parent link="base_link"/>
  <child link="${name}_base"/>
  <origin rpy="${roll / 180 * M_PI} ${pitch / 180 * M_PI} ${yaw / 180 * M_PI}" xyz="0.0 0.0 0.0"/>
</joint>

<link name="link"/>

<joint name="base_link_to_link_joint" type="fixed">
  <parent link="link"/>
  <child link="base_link"/>
  <origin rpy="0.0 0.0 0.0" xyz="0.0 0.0 0.0"/>
</joint>
3 、在 livox_avia.xacro 中,为了让激光雷达悬空,设置其在 Gazebo 中为静止,否则会晃动或倾倒:
<gazebo>
  <static>true</static>
</gazebo>
4 、模型的启动文件如下,在其中设置激光雷达的位置坐标:
<?xml version="1.0"?>
<launch>
    <arg name="world" default="$(find livox_laser_simulation)/worlds/standardrobots_factory.world" />
    <arg name="livox_sensor" default="$(find livox_laser_simulation)/urdf/livox_avia.xacro" />

    <include file="$(find gazebo_ros)/launch/empty_world.launch">
        <arg name="world_name" value="$(arg world)"/>
        <arg name="paused" value="false"/>
        <arg name="use_sim_time" value="true"/>
        <arg name="gui" value="true"/>
        <arg name="headless" value="false"/>
        <arg name="debug" value="false"/>
        <arg name="verbose" value="true"/>
    </include>

    <param name="sensor_description" command="$(find xacro)/xacro --inorder $(arg livox_sensor)" />
    <node name="spawn_urdf" pkg="gazebo_ros" type="spawn_model" args="-urdf -model livox_avia -param sensor_description -x 0 -y 0 -z 2" />
    <node name="rviz" pkg="rviz" type="rviz" args="-d $(find livox_laser_simulation)/rviz/livox_simulation.rviz"/>
</launch>
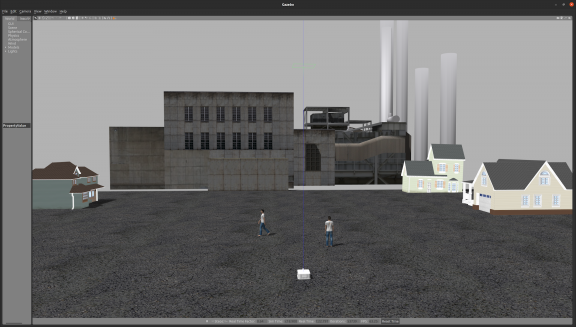
5、仿真效果如下图所示: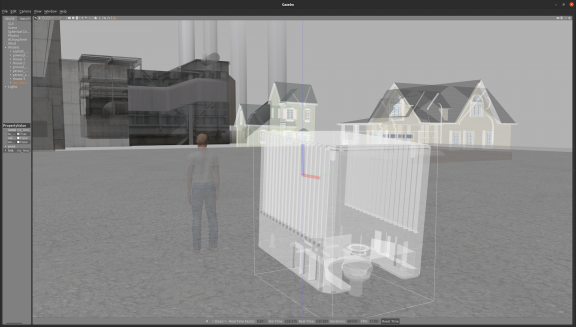
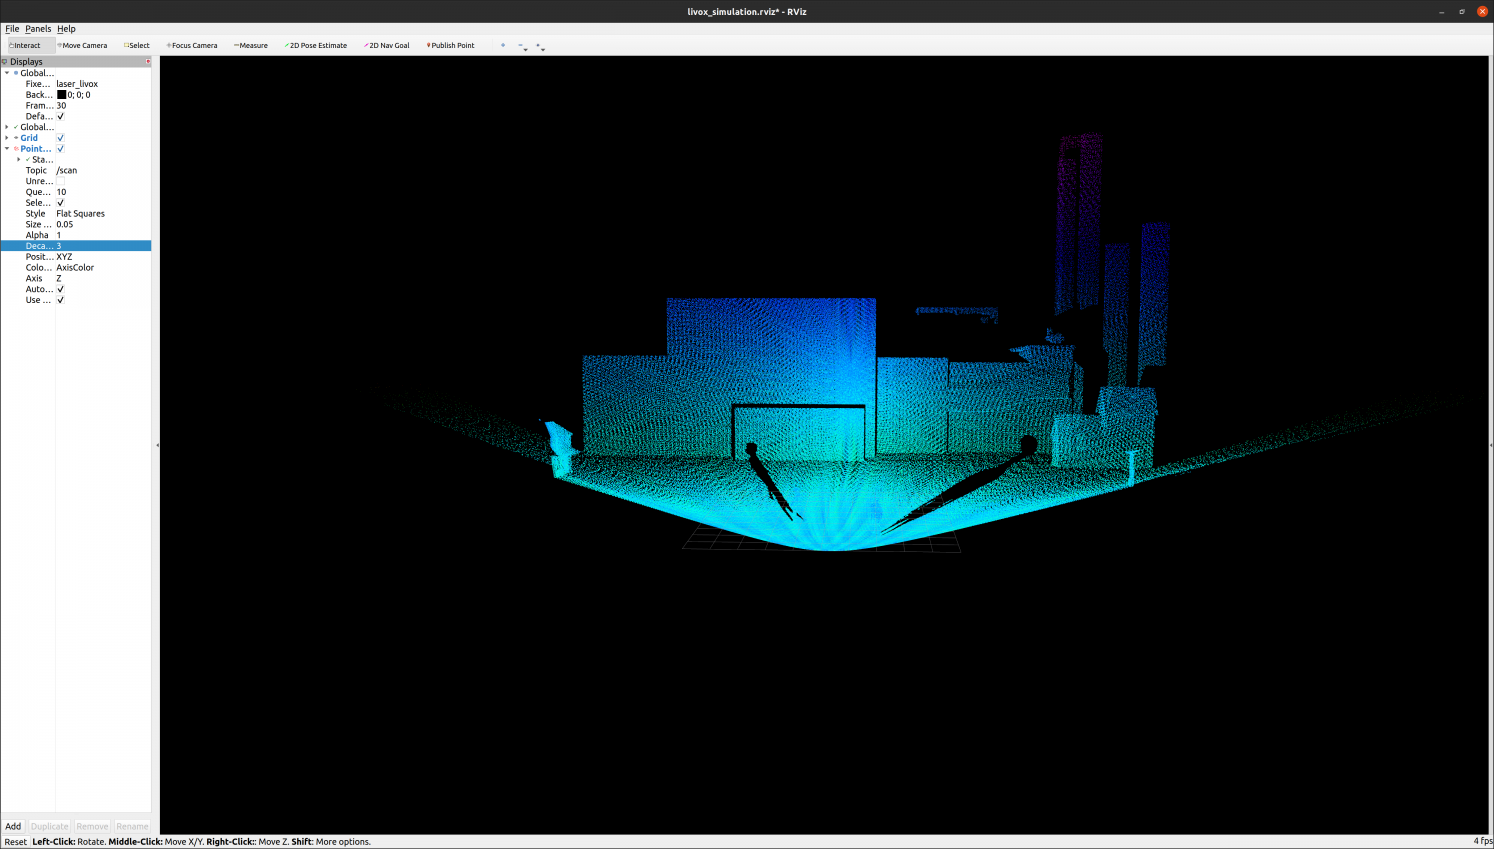
3. 点云累积
由于单帧的激光雷达点云只包含 24000 个,其中还存在无效点(用来表示无穷远,坐标为 (0, 0, 0))。Livox Avia 每秒扫描 10 帧点云,这里我取 3 秒的点云叠加得到稠密点云。由于激光雷达的位姿固定,所以只需要将点云相加即可,无需 SLAM 建图。
这里要注意的是,Livox 的仿真模型发布的点云数据是 sensor_msgs::PointCloud 类型,而不是我们常用的 sensor_msgs::PointCloud2 类型,前者无法直接使用 pcl::fromROSMsg 转换为 PCL 的点云数据结构,二者的区别如下:
| 特征 | sensor_msgs::PointCloud |
sensor_msgs::PointCloud2 |
|---|---|---|
| 数据表示方式 | 使用 std::vector 存储点数据 |
使用二进制数据和字段描述存储点数据 |
| 坐标表示类型 | 使用 geometry_msgs::Point32 表示点坐标,通常使用浮点数 (float) |
可以使用不同数据类型(例如,float 或 double)表示点坐标,更灵活 |
| 元数据信息 | 无元数据信息 | 包含元数据字段,如 height、width、fields 等,可以用于描述点云属性和结构 |
| 适用性 | 适用于简单点云数据,不适用于多属性或复杂点云 | 通用,适用于多属性和复杂点云数据 |
| 数据字段 | 仅包含 points 字段 |
包含 data 字段和 fields 字段,可以描述多种字段的点云数据 |
| 典型用途 | 用于简单的三维坐标点云 | 用于各种点云数据,包括多属性和复杂点云 |
| 精度 | 可能存在精度损失 | 可以选择更高精度的数据类型以避免精度损失 |
| ROS消息类型 | sensor_msgs::PointCloud |
sensor_msgs::PointCloud2 |
| ROS消息定义文件 | sensor_msgs/PointCloud.msg |
sensor_msgs/PointCloud2.msg |
- 通常情况下,如果需要处理复杂的多属性点云数据或需要更高的坐标精度,
sensor_msgs::PointCloud2是更灵活和通用的选择。 - 如果只需要简单的三维坐标点云数据,那么
sensor_msgs::PointCloud可能会更方便。
下面是叠加激光雷达点云的节点代码,实现了点云的多帧累积和保存:
#include <ros/ros.h>
#include <sensor_msgs/PointCloud.h>
#include <sensor_msgs/PointCloud2.h>
#include <sensor_msgs/point_cloud_conversion.h>
#include <pcl_conversions/pcl_conversions.h>
#include <pcl/point_cloud.h>
#include <pcl/point_types.h>
#include <pcl/io/pcd_io.h>

class PointCloudAccumulator
{
public:
    PointCloudAccumulator()
    {
        // 订阅点云话题
        sub = nh.subscribe("/scan", 1, &PointCloudAccumulator::pointCloudCallback, this);

        // 初始化累积点云
        accumulated_cloud.reset(new pcl::PointCloud<pcl::PointXYZ>);
    }

    void pointCloudCallback(const sensor_msgs::PointCloudPtr &cloud_msg)
    {
        ROS_INFO("Received a point cloud message.");

        sensor_msgs::PointCloud2 cloud2_msg;
        sensor_msgs::convertPointCloudToPointCloud2(*cloud_msg, cloud2_msg);

        pcl::PointCloud<pcl::PointXYZ> input_cloud;
        pcl::fromROSMsg(cloud2_msg, input_cloud);

        // 将接收到的点云添加到累积点云中
        *accumulated_cloud += input_cloud;

        // 检查累积帧数是否达到30帧
        if (++frame_count >= 30)
        {
            ROS_INFO("Accumulated 10 frames of point clouds. Saving to PCD file.");

            // 移除0,0,0处的点
            accumulated_cloud->erase(
                std::remove_if(accumulated_cloud->points.begin(), accumulated_cloud->points.end(),
                               [](const pcl::PointXYZ &p) {
                                   return (p.x == 0.0 && p.y == 0.0 && p.z == 0.0);
                               }),
                accumulated_cloud->points.end());

            // 保存累积点云为pcd文件
            pcl::io::savePCDFileASCII("accumulated_cloud.pcd", *accumulated_cloud);

            ROS_INFO("PCD file saved. Shutting down the node.");

            // 关闭节点
            ros::shutdown();
        }
    }

private:
    ros::NodeHandle nh;
    ros::Subscriber sub;
    pcl::PointCloud<pcl::PointXYZ>::Ptr accumulated_cloud;
    int frame_count = 0;
};

int main(int argc, char **argv)
{
    ros::init(argc, argv, "point_cloud_accumulator_node");
    PointCloudAccumulator point_cloud_accumulator;

    ROS_INFO("PointCloud Accumulator Node is running.");

    ros::spin();

    return 0;
}
执行上面的程序,得到的点云如下: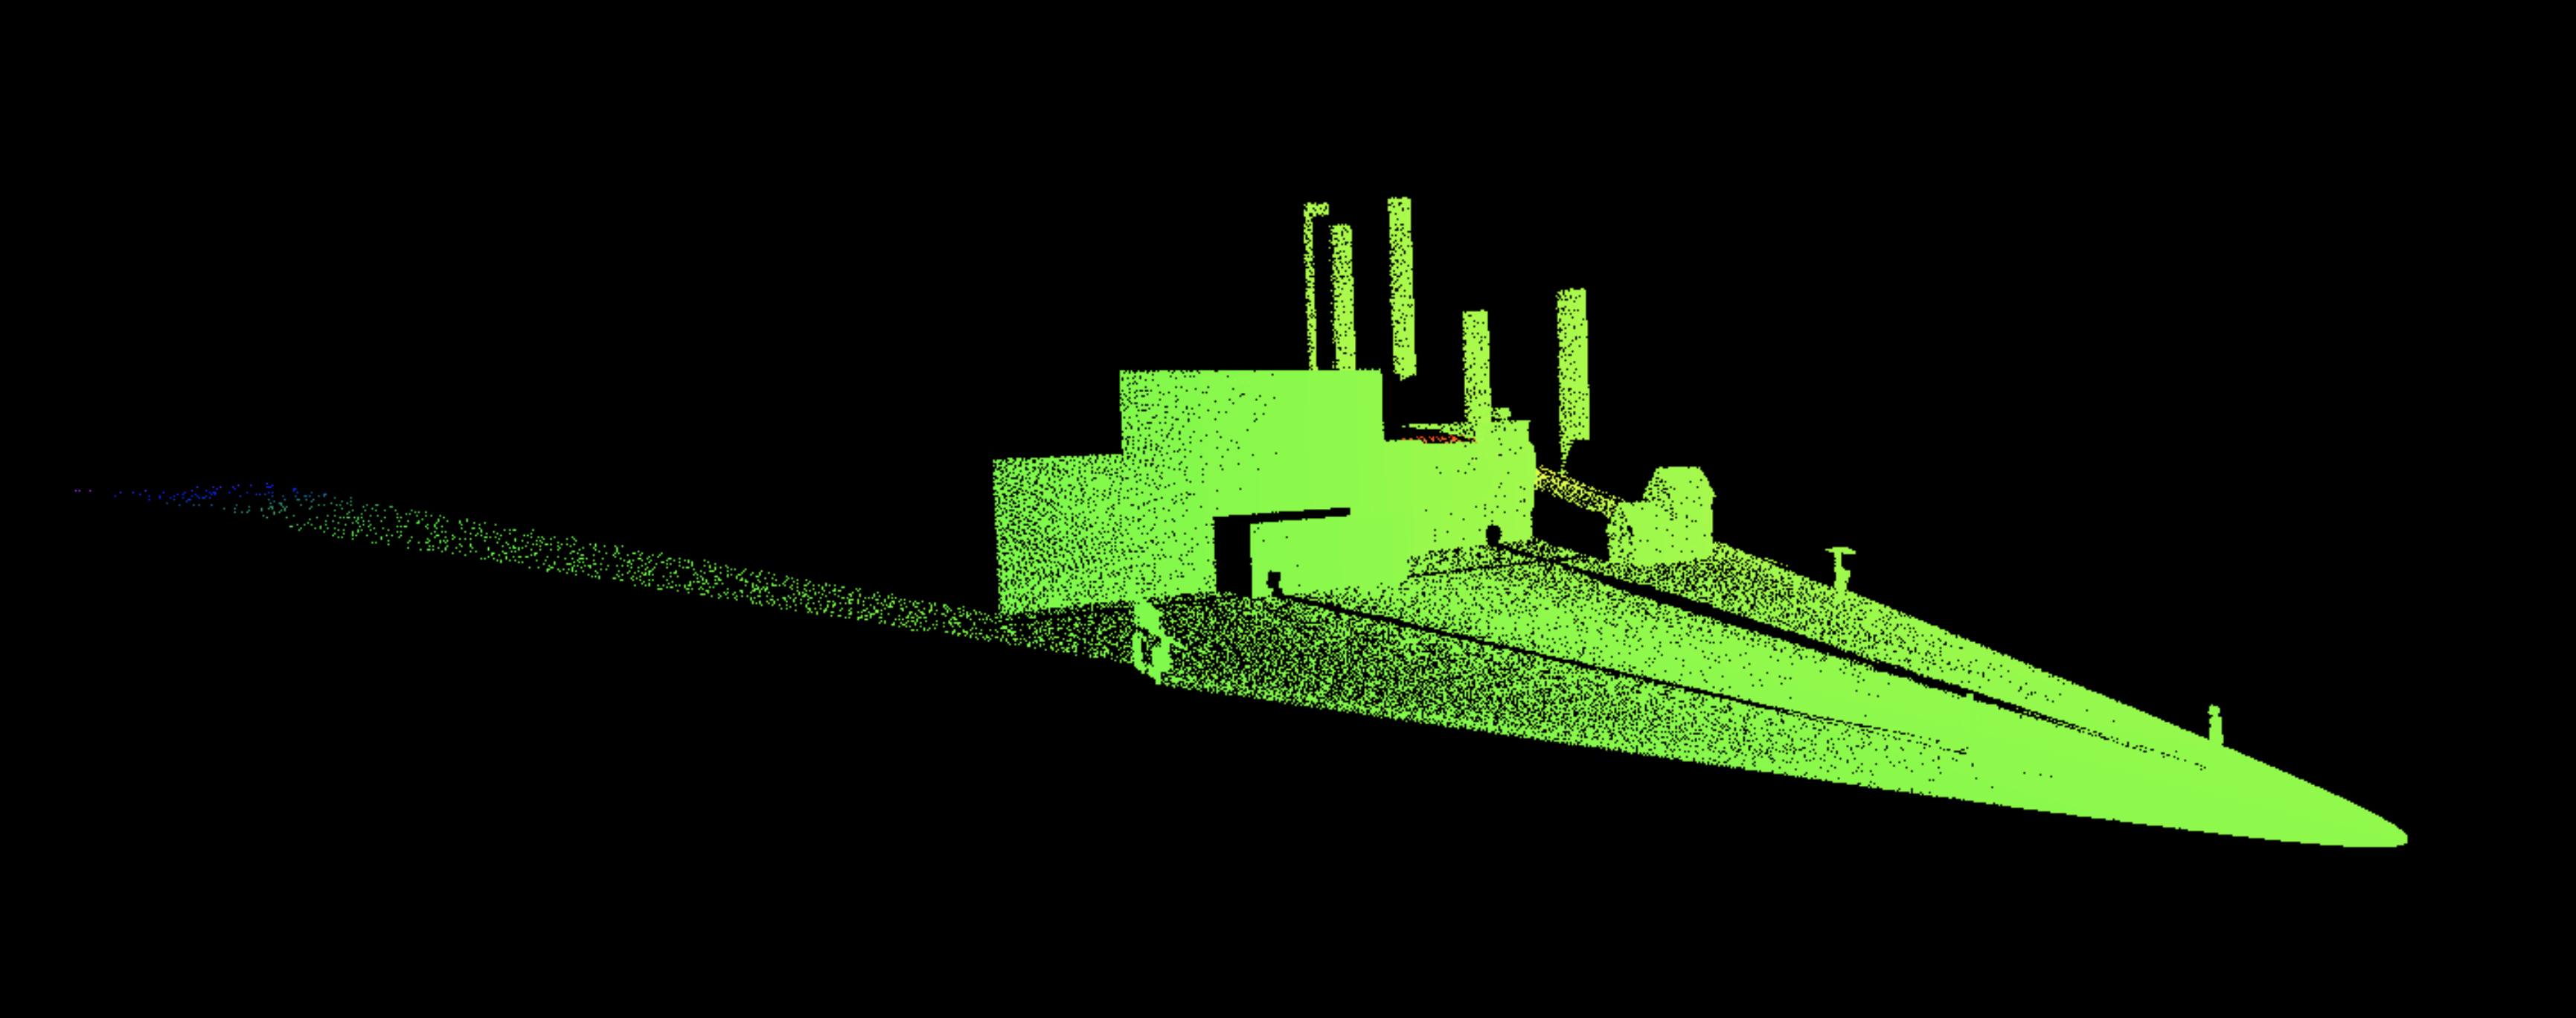


评论(2)
您还未登录,请登录后发表或查看评论