

Python做图像图形研究的时候,通常需要画很多辅助几何形状(比如bounding box等)。基于opencv的几何图形绘制具有易用性,而且天然能和numpy数组交互。
本文总结了几种常用的cv2画几何图形的方法,当一个简易的手册使用:
1.直线绘制:cv2.line
输入规范如下:
cv2.line(image, start_point, end_point, color, thickness)
两点确定一条直线,所以我们需要明确起始点,终点的位置即可。另外,我们可以通过color和thickness确定直线的颜色和厚度。我们来看一个小demo:
import cv2
import numpy as np

blank = np.zeros((224, 224, 3), np.uint8)

# draw line
cv2.line(blank, (22, 99), (83, 200), (255, 255, 255), 2)
cv2.imwrite("line.png", blank)
画出效果为: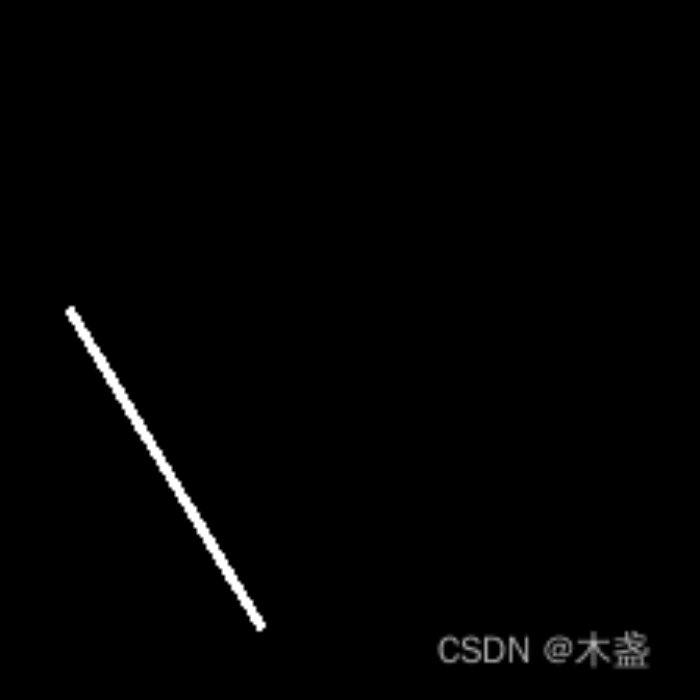
2. 矩形绘制:cv2.rectangle
输入规范如下:
cv2.rectangle(img, pt1, pt2, color, thickness, lineType, shift )
同样,两点(左上角和右下角)确定一个矩形。我们看一下demo:
import cv2
import numpy as np
blank = np.zeros((224, 224, 3), np.uint8)
# draw rectangle
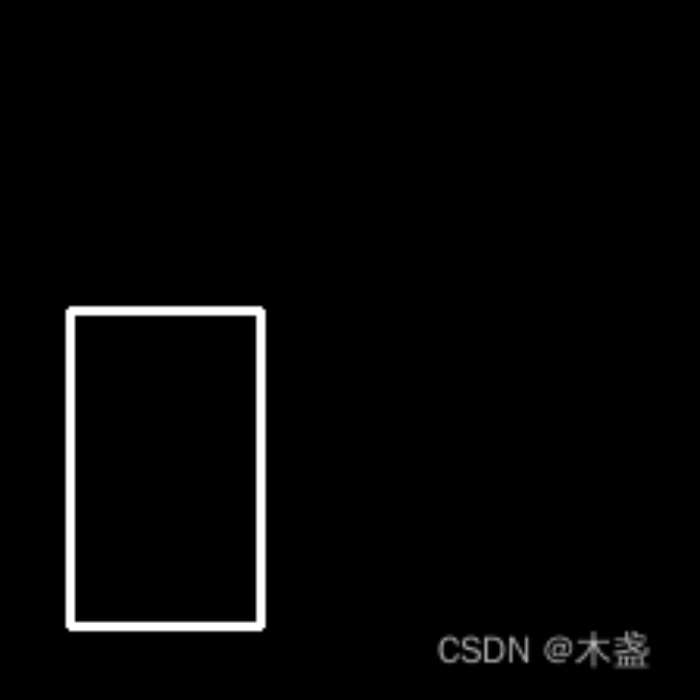
cv2.rectangle(blank, (22, 99), (83, 200), (255, 255, 255), 2)
cv2.imwrite("rect.png", blank)
3.圆形绘制:cv2.circle
输入规范:
cv2.circle(img, center, radius, color, thickness=None, lineType=None, shift=None)
通过圆心坐标和半径即可确定一个圆。实验如下:
import cv2
import numpy as np

blank = np.zeros((224, 224, 3), np.uint8)

# draw circle
cv2.circle(blank, (112, 112), 12, (255, 255, 255), 1)
cv2.imwrite("circle.png", blank)
效果如下: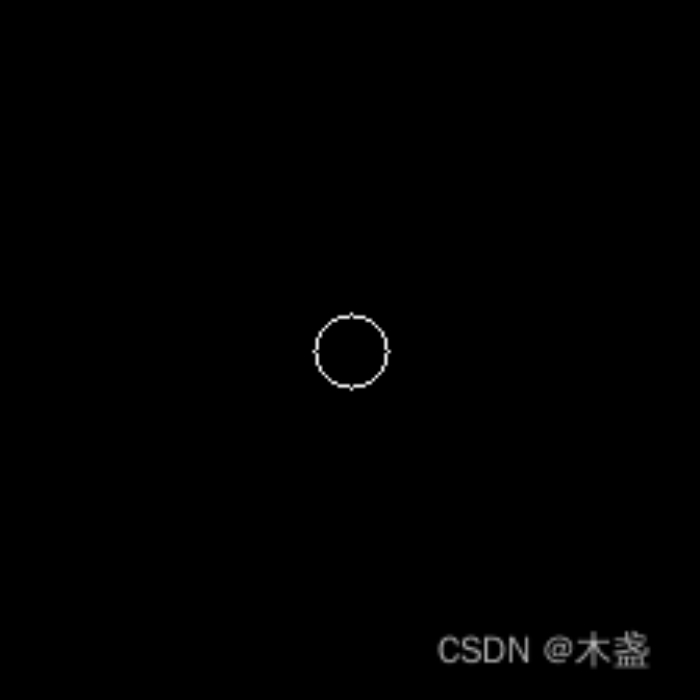
4. 输入文字:cv2.putText
cv2.putText(image, text, org, font, fontScale, color, thickness, lineType=None, bottomLeftOrigin=None)
确定文本、文字位置、字体。实验如下:
import cv2
import numpy as np

blank = np.zeros((224, 224, 3), np.uint8)

# draw rectangle
font=cv2.FONT_HERSHEY_SIMPLEX
cv2.putText(blank, "helloworld", (80,90), font, 0.5, (255,255,255), 1)
cv2.imwrite("text.png", blank)
实验效果如下:


评论(0)
您还未登录,请登录后发表或查看评论